
🎮 Introduction: Why I Decided to Build Instead of Buy
A couple years ago, I was staring at overpriced prebuilt gaming PCs and thinking, There has to be a better way.
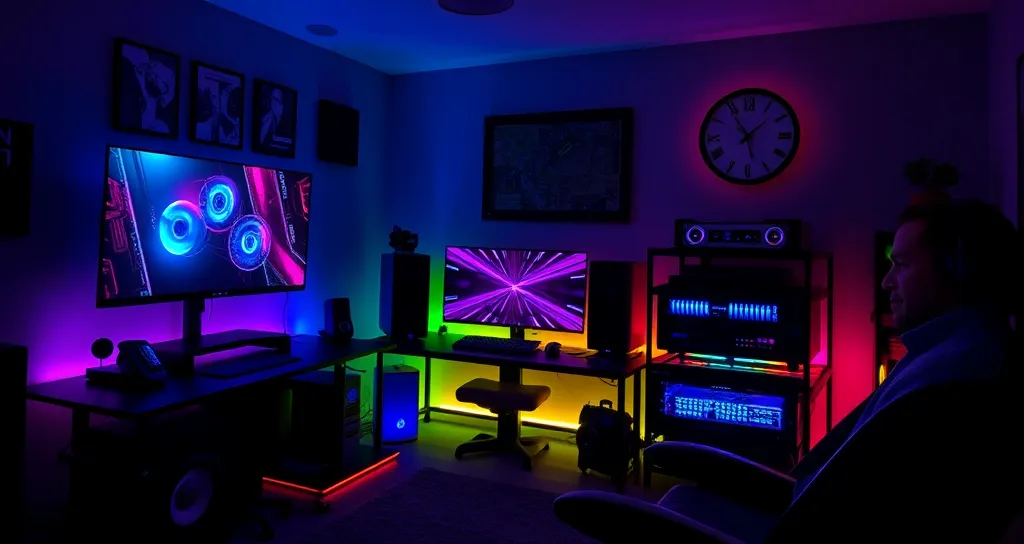
Fast forward to 2025, and I’ve now built three custom rigs—each one better than the last. If you’re even thinking about learning how to build a gaming PC, let me tell you: it’s 100% worth it.
You’ll save money, learn valuable skills, and—if you’re anything like me—you’ll feel a deep sense of pride every time that RGB glow kicks in.
Let me walk you through exactly how to do it, step by step, with zero fluff.
🧩 Step 1: Choose the Right Parts (Your Build List)
Golden rule: Compatibility first, looks second.
🛒 Basic Component Checklist:
CPU (Processor): Ryzen 7 7800X3D / Intel i7-14700KF
GPU (Graphics Card): NVIDIA RTX 4070 / AMD RX 7800 XT
Motherboard: Match your CPU socket (e.g., AM5, LGA1700)
RAM: 16GB–32GB DDR5 (5600 MHz ideal)
Storage: 1TB NVMe SSD (Gen 4/5 if budget allows)
Power Supply (PSU): 650W–850W, 80+ Bronze or better
Case: Mid-tower ATX with solid airflow
CPU Cooler: Stock (budget), air tower, or AIO
Operating System: Windows 11 (or Linux for rebels)
💬 Biggest mistake I made early on? Buying a non-modular PSU. Cable clutter was a nightmare.
🔧 Step 2: Assemble Your Tools
You don’t need a workshop. Just these basics:
Clean, static-free surface
Phillips-head screwdriver
Zip ties or Velcro straps
Thermal paste (if cooler lacks pre-applied)
Phone/laptop for video reference
💬 Laying out tools beforehand saved me hours later.
🧱 Step 3: Build in This Order (Don’t Skip!)
🧠 A. Prepare Your Case
Remove side panels
Install fans
Pre-route case cables
💡 B. Install the CPU
Open CPU socket lever
Align and drop CPU (triangle corner)
Close lever with gentle pressure
❄️ C. Apply Thermal Paste & Mount Cooler
Small pea-sized drop
Even pressure when tightening
Connect CPU fan header
💾 D. Insert RAM & SSD
Snap RAM into DIMM slots
Screw M.2 NVMe SSD onto motherboard
🧬 E. Mount the Motherboard
Align and screw onto standoffs
Avoid overtightening
⚡ F. Install the PSU
Fan down (if case has bottom vents)
Use only required cables (if modular)
🎮 G. Install the GPU
Slot into PCIe x16
Secure with screw
Plug in 8-pin/12VHPWR cable
🧹 H. Cable Management
Zip tie cables behind motherboard tray
Route CPU/GPU/front panel neatly
💬 Pre-routing cables made my build look clean and professional.
🚀 Step 4: First Boot & BIOS Setup
✅ First Boot Checklist:
Are all fans spinning?
RGB lights on GPU/MOBO?
Monitor connected to GPU (not motherboard)?
PSU switch ON?
🧠 Enter BIOS:
Press
DELorF2Enable XMP/DOCP for RAM speed
Check CPU temps and boot drive
Save & exit
💬 BIOS update fixed my RAM detection issue instantly—don’t skip it.
🪟 Step 5: Install Windows & Drivers
🧷 A. Create Bootable USB
💻 B. Install & Update Drivers
Choose custom install > NVMe SSD
Then install:
GPU drivers (NVIDIA / AMD)
Chipset (from motherboard site)
LAN, Wi-Fi, and Audio drivers
💬 Performance improved dramatically after replacing stock Windows drivers.
🧼 Step 6: Install Games & Benchmark
🎮 Gaming Platforms:
Steam, Epic Games, Battle.net
🧪 Benchmark Tools:
Cinebench
Geekbench
3DMark Time Spy
In-game FPS (e.g., Cyberpunk 2077)
🎯 Bonus Tip:
Create a clean system image before heavy installs
🏁 Final Thoughts: Welcome to the Master Race 😎
Learning how to build a gaming PC in 2025 isn’t just about saving money—it’s about mastering your hardware and maximizing your experience.
If I could go back and tell my past self one thing, it’d be:
“Stop being scared. You got this.”
Now go crush those frame rates. 🔥
⚠️ Disclaimer
This guide is for educational purposes only. Always follow component manuals and safety guidelines during assembly.